Post Summary: Upgrading your metal building insulation is one of the most cost-effective ways to increase property value and attract higher-quality tenants. Better insulation means lower operating costs, improved comfort, reduced maintenance, and a more professional interior — all factors that drive up lease rates and make your building more competitive. This post breaks down how insulation upgrades translate directly into stronger tenant appeal and higher returns for commercial property investors.
If you’re investing in a commercial property, you know that it comes with a long list of responsibilities, from maintaining the building to keeping tenants satisfied. One area that often gets overlooked is insulation. While many people think of insulation as a way to save on energy bills, in a commercial setting, it’s much more than that. Proper insulation directly impacts operating costs, boosts Net Operating Income (NOI) and can even increase your property’s market value. For building owners and investors, these improvements aren’t just maintenance; they’re strategic upgrades that make a tangible difference in your bottom line.
In this blog, we’ll break down how insulation can enhance your commercial property’s value, improve real estate comps and make your building more appealing to high-quality tenants. We’ll also explore how to choose the right insulation for your specific property type, including warehouses, offices, retail spaces and more, and how CMI Insulation’s solutions can help you. By the end, you’ll have a clear picture of the real return on investment insulation can provide for your commercial property.
The Short Answer: Yes, Insulation Boosts Commercial Property Value
Proper insulation does more than control temperature; it directly affects a building’s financial performance. By reducing energy costs, insulation lowers operating expenses, which increases NOI. Higher NOI makes the property more valuable to investors and appraisers. For existing structures, retrofit insulation like rigid foam can have an immediate impact on metal building insulation retrofit projects, boosting resale potential and long-term value.
Why Commercial Properties Benefit More From Strategic Insulation
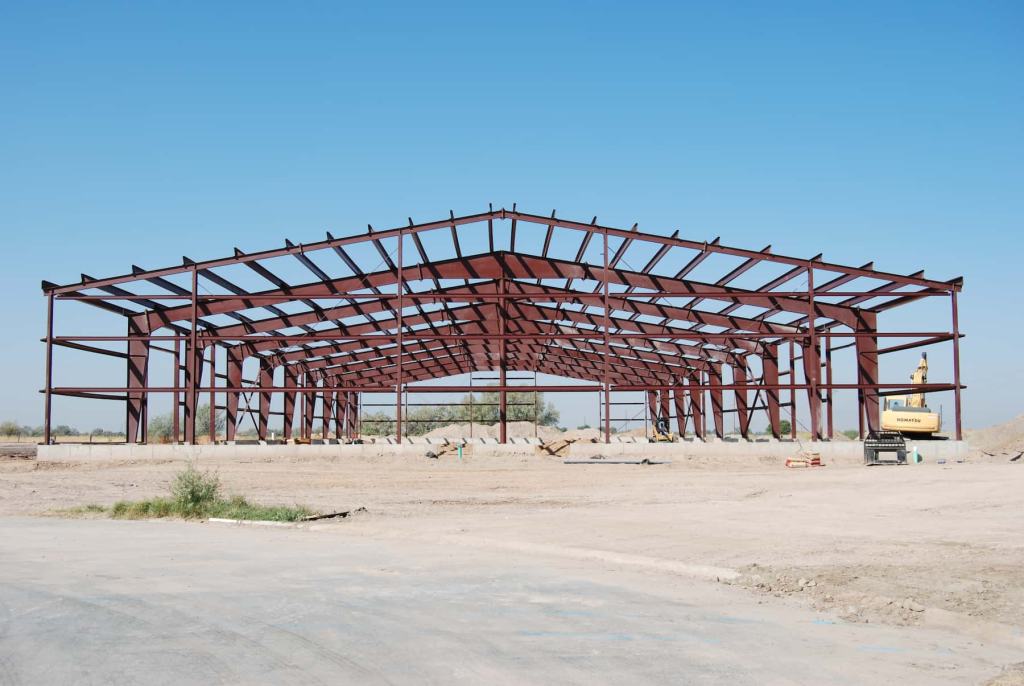
Commercial buildings face challenges that homes do not. Large spaces, steel or concrete structures, and expansive windows make temperature control difficult, especially for
older buildings. Complex HVAC systems add to energy costs, and these costs make up a bigger portion of operating expenses in commercial properties. Proper insulation, including metal building insulation retrofit options, can really improve efficiency, lower expenses and increase NOI.
Insulation also plays a key role in meeting commercial energy standards. Guidelines like ASHRAE and local building codes are designed to ensure efficiency and safety. Upgrading insulation helps buildings comply with these requirements, protecting long-term value while reducing operating costs.

How Insulation Impacts Property Valuation and Real Estate Comps
Insulation keeps a building comfortable, and it can directly increase its market value. We talked about this above, but by lowering energy costs, insulation reduces overall operating expenses, which boosts NOI.
Buildings with modern insulation stand out in real estate comparisons and appraisals. Commercial solutions like spray foam and rigid foam from CMI, including metal building insulation retrofit systems, seal gaps, help prevent heat loss and improve energy efficiency. This can help properties perform better in both valuation and investment returns.
Attracting and Retaining High-Value Commercial Tenants
Comfort and consistency play a really big role in tenant satisfaction, and in keeping great tenants long term. A well-insulated building helps maintain steady temperatures, reduces drafts, and blocks out noise, creating a space that people actually enjoy being in.
When those needs aren’t met, tenants start looking elsewhere. And replacing them isn’t cheap. Advertising the space, paying realtor commissions, covering months of vacancy, and preparing the property for a new lease all add up quickly. Insulation upgrades can prevent that cycle by keeping tenants comfortable and happy where they are.
For property owners, investing in retrofit insulation or a metal building insulation retrofit is about tenant retention. Buildings that feel better and look well-maintained tend to attract long-term tenants who are willing to pay for quality. This helps owners avoid unnecessary turnover costs and protect property value.
Choosing the Right Insulation for Your Commercial Property
Warehouses and Industrial Spaces
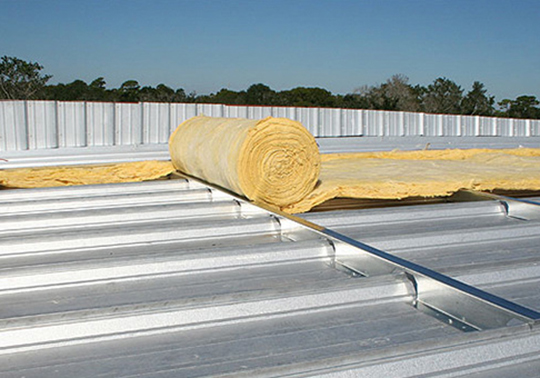
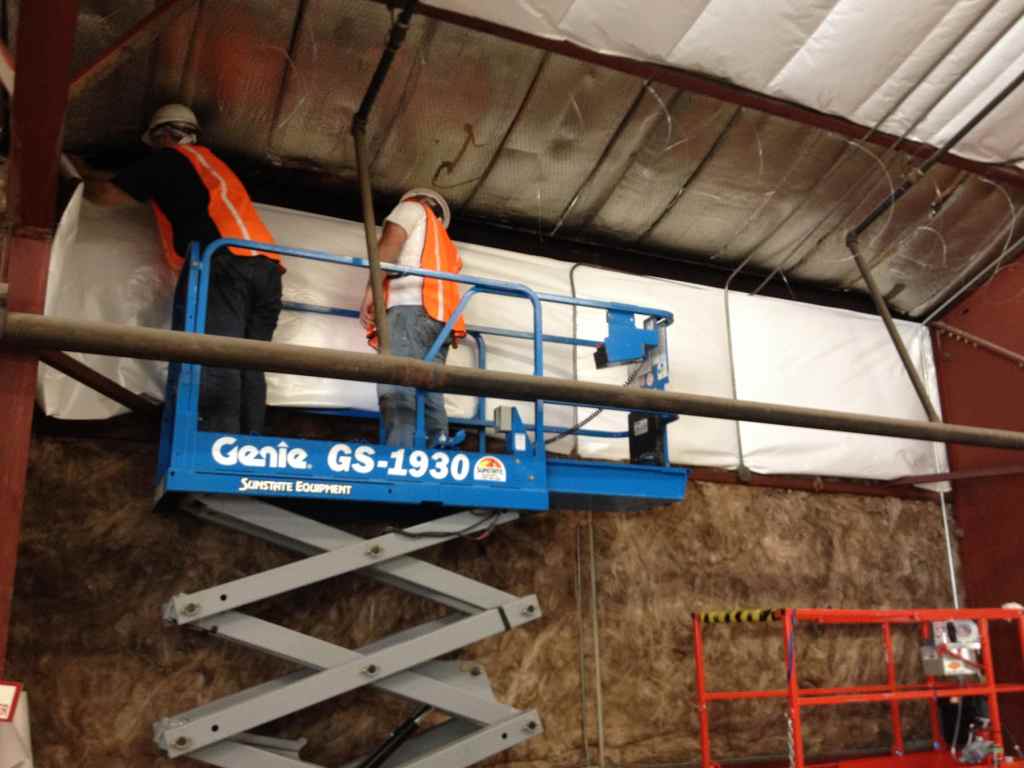
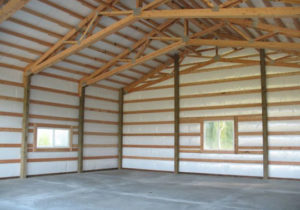
Large industrial spaces and warehouses often face unique challenges. Metal structures can lose heat quickly, and walls may allow energy to escape. Faced fiberglass is a good option for retrofit insulation, especially when completing a metal building insulation. These solutions seal gaps, maintain consistent temperatures and improve energy efficiency. CMI Insulation offers products specifically designed for metal building retrofit insulation systems, helping reduce operating costs and boost property value.
Assessing Your Building’s Needs: When to Upgrade
It can be hard to know when insulation needs an upgrade, but there are clear signs to watch for. High energy bills, complaints from tenants about drafts or uneven temperatures, and visible moisture or damage all indicate that a building may not be performing as efficiently as it could.
A professional commercial energy audit is the most reliable way to pinpoint issues. Tools like thermal imaging scans can show exactly where heat is escaping or where insulation is lacking. This detailed insight helps property owners make targeted improvements rather than guesswork.
Upgrading insulation isn’t just about comfort; it’s a long-term investment. Using CMI Insulation products and services to address these issues can reduce operating expenses, improve NOI and increase the property’s market value. Proper insulation pays for itself over time, making the building more efficient, appealing and valuable for years to come.
For commercial property owners looking to maximize ROI, the next step is clear. Checking in with the experts at CMI Insulation can help you to find tailored solutions for warehouses, offices, retail spaces and more. Investing in the right insulation today means a more valuable, efficient and desirable property tomorrow.
FAQs: Commercial Insulation and Property Value
Does insulation increase commercial property value?
Yes. Proper insulation lowers energy costs and operating expenses, which boosts NOI. A higher NOI directly translates to a higher commercial property market value, making the building more appealing to investors and potential buyers.
What type of insulation is best for industrial buildings?
For warehouses and industrial spaces, spray foam is ideal for sealing large metal structures and eliminating drafts, while rigid foam works well for walls. These solutions improve energy efficiency, maintain consistent temperatures and protect equipment or inventory.
How often should you evaluate your building’s insulation?
A thorough inspection every few years is recommended, or sooner if tenants report temperature issues or if energy bills rise unexpectedly.